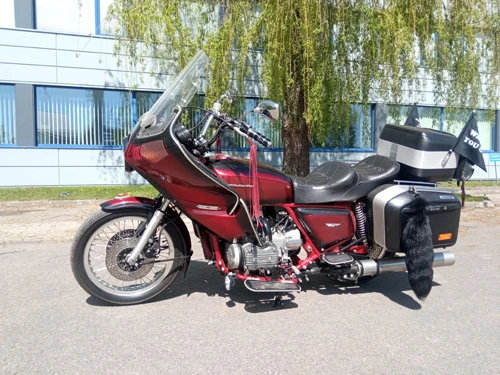
Using this manifold avoids four carb maintenance, especially synchronization and improves fuel efficiency
NOTE! Installing
intake elbows on the manifold use a regular hose clamps instead stock
ones. Stock clamps are with the limiters and might not tie properly.
1. Remove intake boots, control cables, fuel lines etc.
2.
Remove existing carb setup. Note: Remove carb assembly from left
side of engine. Removal of right front air piston cap will aid in
removal on some models
3. Install intake boots onto new manifold making sure rubber flanges are in good condition
4. Install new manifold with intake boots back on engine and reinstall flange bolts
5. Tighten boot clamps with 1” stainless 10-32 bolts (These are needed due to the larger diameter runners)
6. Install carb w/throttle control on the right side (Throttle cable bracket side)
7.
Locate positive + electrical source (any live wire to the ignition
will do and fuse box under top cover is the best location)
8. Connect 2 wires (positive + terminal) upper screw, right side of fuse box and verify
9. Connect 1 wire (negative – terminal) lower screw, right side of fuse box and verify
10. One positive + wire attaches to the electrical choke, the other positive + wire attaches to the air cut valve
11. Attach ground wire to carb body
12. Install fuel line, throttle cable and optional air filter
13. Turn ignition to ON position with engine in cutoff position
14. Crank engine a few times to allow fuel into carb
15. Recheck all connections (clamps, cables, fuel lines)
16. Start engine and idle for a few minutes
17. Decelerator cable should be removed to avoid cable jamming and choke cable can be zip tied inside tank cover
18. Get out of the garage and hit the road